

| English | Korean | Chinese | Japanese |
Chapter 3. VMS Server
Playback Mode
1. Click the “Playback” button to go to the Playback Screen.
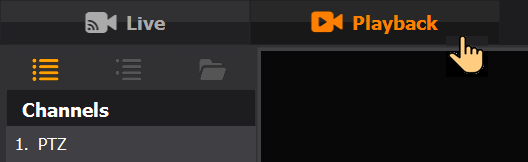
2. Channel List
a. Select one or more channels to play from the Channel List in the upper left corner of the dialog.
b. You can set the maximum number of concurrent playback channels in the Miscellaneous section of the configuration.
c. Click the layout buttons to choose whether to list by  channel number or by
  groups. You can also display the list of archived video files by clicking the
  button.
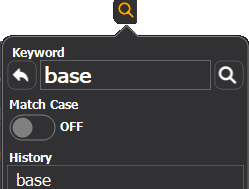
d. Click the  button to search channel titles using a keyword.
3. Calendar
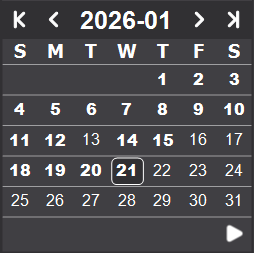
a. Select the date on the calendar. Dates with video are shown in bold.
b. Click the  button in the bottom right corner to move to the current time.
4. Timebelt
a. You can adjust the time scale using the mouse wheel and move the timeline back and forth by dragging. You can also select a specific time scale by right-clicking or by clicking the zoom buttons in the upper right corner. The zoom buttons function as follows: 'zoom-maximum', 'zoom-in', 'zoom-out', and 'zoom-minimum', respectively.

b. By dragging the mouse, you can select the time to play.
c. By clicking the play,  pause, and
  rewind buttons you can play, pause, or rewind playback. The video will rewind while you hold the rewind button.
d. Click the play speed x1 button, and select the playback speed. You can also choose the rewind speed by clicking the setup  button.

e. Click the time display and select a time to play. You can keep moving forward and backward by long-pressing the time controls.
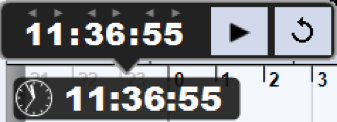
f. If the recorded video is in Daylight Saving Time, the standard time is displayed in gray below the DST time.

g. Press the space key to pause or resume. Also, press the left and right arrow keys to move to the previous or next frame by one second.
5. Preview Mode
a. In single-channel display mode, you can switch to “Preview” mode by clicking the Preview  button in the upper right corner of the video, or by right-clicking and selecting “Preview Mode” from the context menu.
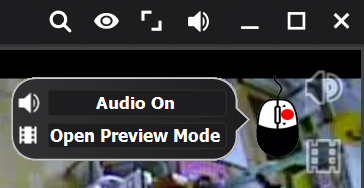
b. In preview mode, small preview images are displayed on the screen. These are snapshots from the selected video channel at the designated interval.
You can select the preview interval and image size by clicking the button on the Timebelt.
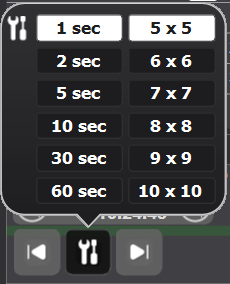
c. While preview images are displayed, the exact times for the images are marked on the Timebelt. White lines indicate all images, while the orange line marks the image where the handle is located.
d. By dragging any image, you can move the preview time range.
e. Click one of the images to magnify it. You can start playback from the selected image.
f. Right-click an image to display the context menu.
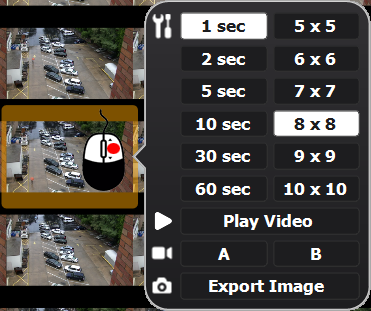
g. Once you select an image, you can zoom in or out by specifying the zoom region or using the mouse wheel. To return to the multi-image preview screen while zoomed in, click the back  button in the upper right corner of the image.
6. Bookmark
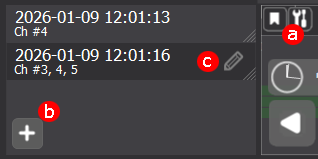
a. Click the  button on the Timebelt to open and close the bookmark list.
b. Click the  button on the bookmark list to bookmark the current playback status, which includes time and video channels.
c. Click the  button on the right side of the selected bookmark item to change bookmark information or delete it.
7. Event List
a. Click the  button on the upper right corner of the dialog to show or hide the event list.
. b. Click an event item on the list to play the video from the start moment of the event.
8. Export
a. In order to export an image or video, you first need to change to single-channel mode.
b. Click the  button to export a still image.
c. Click the  and
and  buttons to set the time range for export, then click the
  button to export the video. You can choose either the avi or v format. The AVI format can be played with a standard video player, while the v format can be played with the VMS backup player.
d. In the export dialog, you can edit the video image by clicking the “Edit” button on the session list. For more information about video editing, please refer to “Video Edit” chapter.
9. Zoom in/out
a. In single-channel display mode, specify a part of the video by dragging the mouse to zoom in the area.
b. In zoom-in mode, click the video to return to its normal size.
c. Move the mouse wheel to zoom in or out.
10. Video Display Ratio
a. Click the  button in the upper right corner of the dialog to change the display ratio of the video.