

| English | Korean | Chinese | Japanese |
 VMSClient
Chapter 8. Mobile Clients: VMSClient
Configurations
1. In the main server list, tap the  Add button at the top to add a new VMS server.
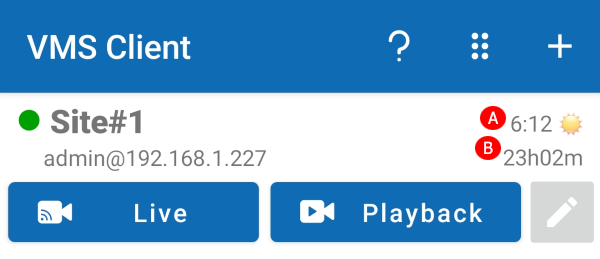
Android
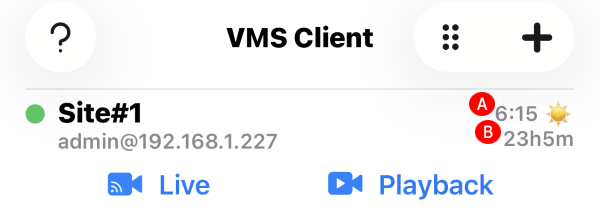
iOS
· A: Server uptime in seconds
· B: Time in the server's time zone
2. On the edit screen, input the server connection details:
· Title: The VMS server name displayed in the main menu.
· Address: URL or IP address of the VMS server.
· Port: Port number for VMS server connection. Default is 3300, configurable in VMS settings.
· UserID/UserPW: ID/PW for server access.
· OSD Size: Size of the On-Screen Display.
· Live Max Channel Count: Maximum live channels shown on one screen.
· Live Full Frame Decoding: Enable full frame decoding for live video.
· Keep Screen On: Prevents the device from dimming.
· Auto Stream Selection: Enable Auto Stream Selection, which selects the most appropriate primary or sub-stream based on the video size.
· This feature is particularly effective for UHD cameras (e.g., 4K), which require significant decoding resources. For multi-channel display, a lower-resolution sub-stream is used to reduce system load. The UHD primary stream is used only for single-channel display.
· It is available only when the preferred streams for single- and multi-channel display are properly configured on the VMS server.
3. To edit existing server info:
· Android: Tap the  Edit button next to a server item.
· iOS: Swipe to reveal edit and delete options.
4. To reorder the list, tap the  Reorder button at the top and long-press the Drag button next to an item to move it.
5. Tap the  Help button to open the help page.
Live Monitoring
1. Tap the  Live button to start live monitoring.
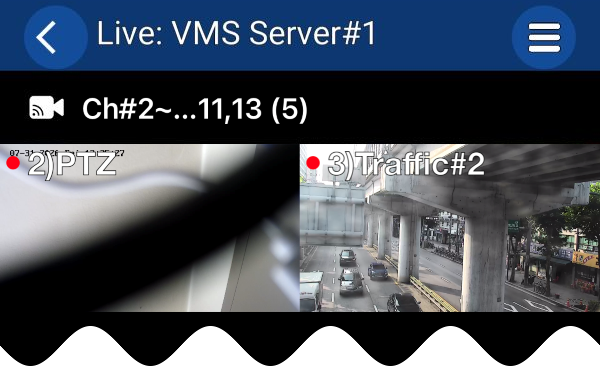
Android
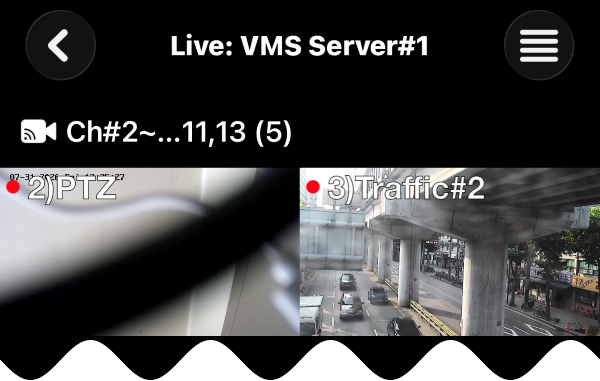
iOS
2. Tap the  Menu button at the top to change the number of video columns per row (1–4 columns).
3. Tap the Channel button at the top left to choose  Channels or
  Groups for display.
4. In Channel mode, you can select channels by tapping each channel.

Android

iOS
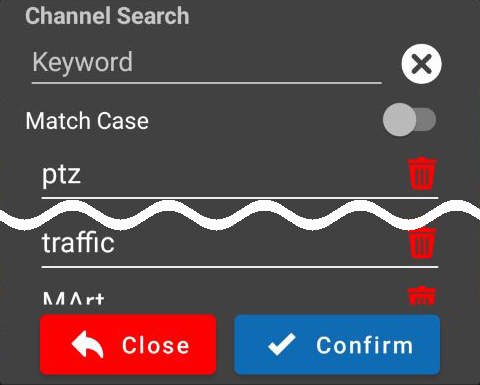
· Tap the  Option button at the bottom to show the search options.
· In the search dialog, enter a search keyword and tap the  Confirm button to apply it. Tap the
  Close button to exit search mode and show all channels.
Android

iOS
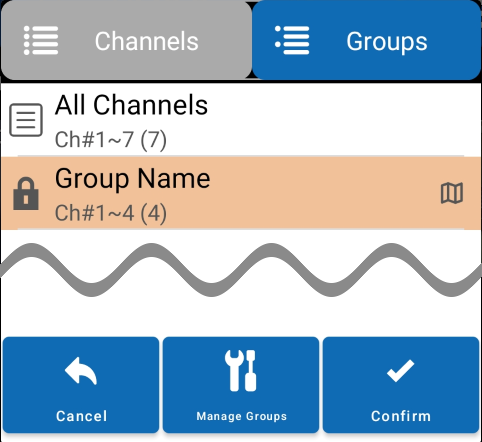
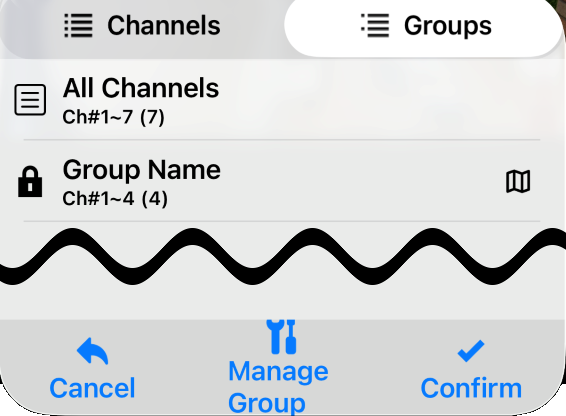
5. In Group mode, you can select groups and manage user-defined groups:
· Tap the  Manage Group button at the bottom.
Android
iOS
· In Manage Group dialog, tap the button at the top right to add a new group.
· Tap the Edit button next to a group item to edit its title.
· After selecting a group, select or deselect channels in the bottom pane.
· If a group has a map, the  Map button appears at the top. Tap it to view the map and channel locations.
6. For PTZ cameras, if configured, the  PTZ button appears in the bottom right when you select a channel. Tap it to control the PTZ camera.
· Use the oval control on the left to pan and tilt, and the vertical control on the right to zoom. Tap the Menu button to select a camera preset.

Android

iOS
Playback Video
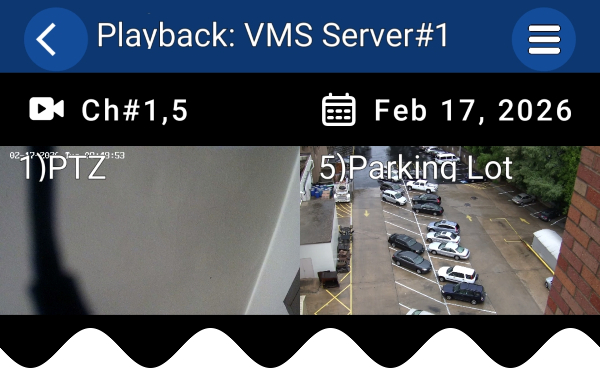
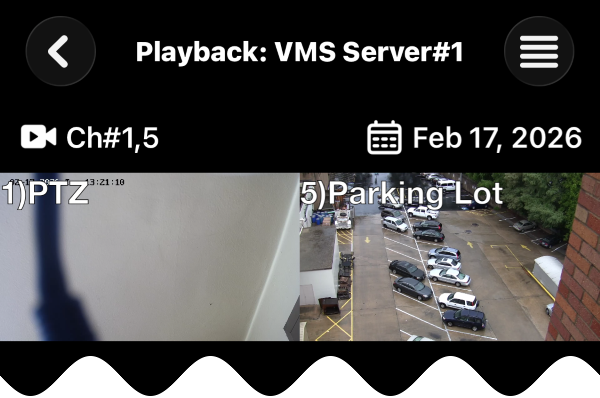
1. Tap the  Playback button to access playback.
Android
iOS
2. Tap the Channel button at the top left to select Channels, Groups, or Files for playback.
3. Tap the  Date button at the top right to select a date for playback.
· In the date selection dialog, tap the  First button to go to the first recording date, or the
  Last button to go to the last recording date.
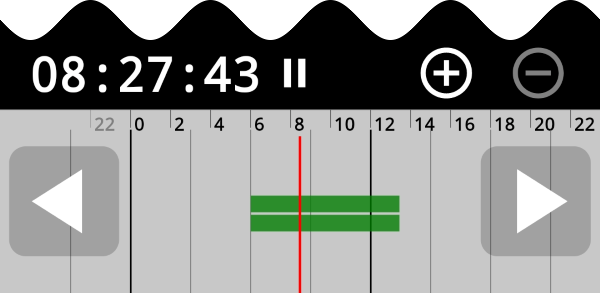
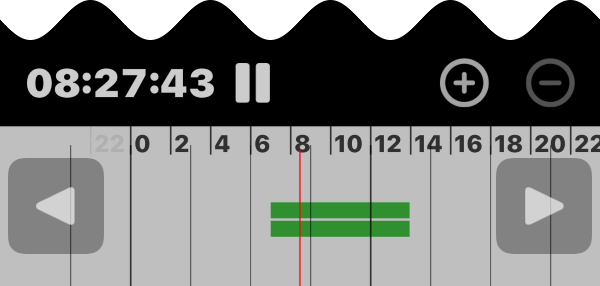
4. On the Time navigation at the bottom, select the start time for playback.
Android
iOS
· Use the or  button to adjust the time range. You can also adjust the range by pinching the navigation control.
· Swipe the navigation control to change the time.
· Tap the  Play button to start playback or the
  Pause button to pause playback.
· Tap the  Rewind button to rewind the playback.
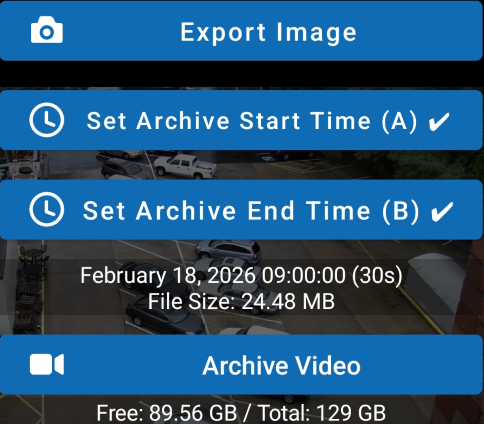
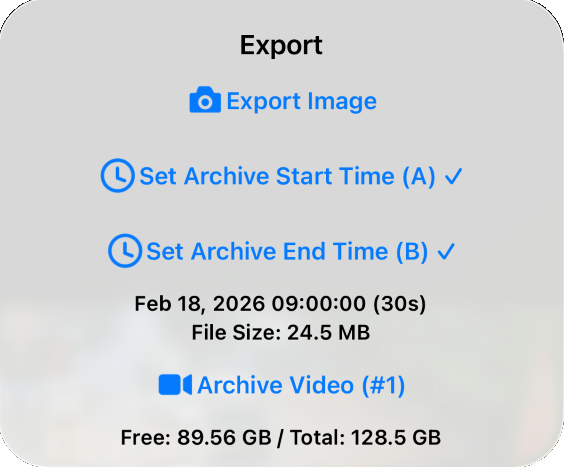
5. Tap a channel video to display it in single-channel mode. The  Export button allows you to export an image or archive video on the server.
Android
iOS
· Options:  Export Image,
  Set Archive Start/End Time,
  Archive Video.
· Exported Images appear in the device's gallery app.
· Archived videos can be played in the  Files tab.
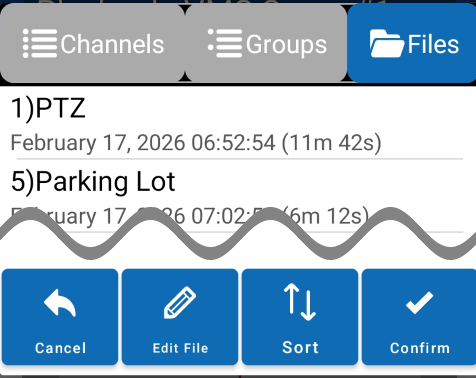
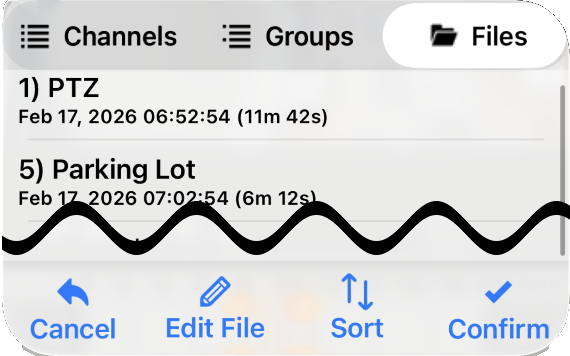
6. Play back archived files in the Files tab on the channel selection screen.
Android
iOS
· Tap the Edit File button to modify the file description and priority.
· Tap the Option button to search for files whose titles or descriptions contain a keyword. You can also change the file list sort order by channel title, video time, priority, or file creation time.
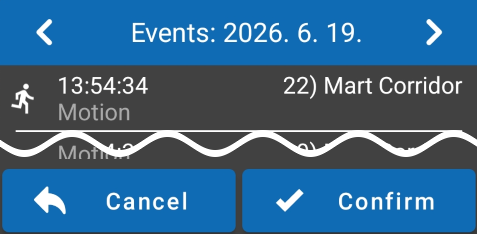
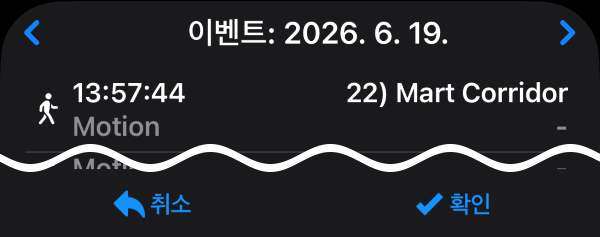
7. If events exist on the selected date, tap the Menu button then tap the  Events button to view the event list.
· Tap the  Previous or
  Next button to move to the previous or next date.
· Select an event and tap the Confirm button to display the video from the event time.
Android
iOS
 VMSCam